✅ FREE SHIPPING on $100+ orders

Skip to product information
1 of 9
Tear-proof Foil
Free Shipping to USA
100% Pure Aluminum
Live Customer Service

Orders placed Monday – Friday (excluding holidays) by 3pm CST will ship the same day. Orders placed after 3pm CST will ship the following business day.

BEST SELLING

48" Wide Perforated Original AtticFoil® Heavyweight Radiant Barrier Foil - Best Selling

48" Wide Perforated Original AtticFoil® Heavyweight Radiant Barrier Foil - Best Selling

Regular price $117.95
Regular price Sale price $117.95
 
Sale Sold out
Shipping calculated at checkout.
500 sq ft 1000 sq ft 1500 sq ft 2000 sq ft
  • 250 sq ft

    $79.45
  • 10000 sq ft

    $1,349.90
  • 20000 sq ft

    $2,599.90
  • 4x 500 sq ft (2000 sq ft total)

    $399.95

48″ wide AtticFoil® is our most popular size roll. The 48″ wide roll is the best option to staple horizontally across the attic, to the bottom of the roof rafters. 

Orders placed Monday – Friday (excluding holidays) by 3pm CST will ship the same day. Orders placed after 3pm CST will ship the following business day.

  • Install with an air gap on one side of the foil that is at least 1/2" or more for the radiant barrier performance.
  • Can be joined/seamed with our 2" Foil Tape.
  • Heavyweight Foil 28.6 lbs per 1,000 sq ft
  • 100% PURE aluminum – this is *not* metalized film
  • Linear Footage/Roll Sizes: 48" wide by 62.5' long (250 sq ft), or 48″ wide by 125 ft long (500 sq ft roll), or 48" wide by 250 ft long (1,000 sq ft roll). Orders larger than 1,000 sq ft are fulfilled with multiple rolls. 
  • Double-sided (DS) foil on both sides
  • Perforated, breathable foil with micro perforations
  • Also available in 26″ wide and 60″ wide, or get any of our rolls custom cut down to the exact smaller width you need.
  • Shop matching Foil Tape in 2" wide rolls
  • FREE SHIPPING to *contiguous USA only
  • Automatic Contractor Pricing on 10,000 sq ft or more!

Orders placed Monday – Friday (excluding holidays) by 3pm CST will ship the same day. Orders placed after 3pm CST will ship the following business day.

View full details

How to Install Radiant Barrier in Your Attic: The Staple-Up Method

If you're ready to take control of your home's heat gain, installing a radiant barrier is one of the most effective DIY upgrades you can make, and the staple-up method makes it accessible to almost any homeowner. Best suited for warm and hot climates with open attic spaces, this approach positions the AtticFoil® along the underside of the rafters, creating a reflective shield between your roof and your living space.

Before you grab your stapler, spend a few minutes planning your layout. Count the rafters along one side of the roof and add a foot of extra foil to your estimate so you don't come up short mid-install. Cut your pieces outside the attic, a driveway works perfectly, using a utility knife with spare blades on hand. Cutting 5-10 pieces at a time means fewer trips up the ladder and a faster overall job.

Start at the lowest point of the rafters and work upward. Pull each strip of radiant barrier foil horizontally across the space, leaving a small gap (roughly 3-6 inches) at the eave end. This opening allows fresh outside air to enter from soffit vents and travel up behind the AtticFoil®, maintaining the airflow your attic needs to stay dry and ventilated. Without this gap, you risk trapping moisture.

Seams between strips don't need to be taped or perfectly aligned; overlapping, butting, or leaving small gaps all perform equally well. AtticFoil® is designed to reflect radiant heat, not to create an airtight seal. Around bracing, blocking, or other structural obstacles, simply cut to fit or drape over the top or use foil tape to attach pieces. Imperfect cuts are totally fine; a few small gaps won't meaningfully affect performance.

As you approach the ridge, stop the foil 3–6 inches short of the peak. This top gap is just as important as the bottom one, it's where accumulated hot air exits through ridge vents, turbines, or other exhaust vents. Cut openings about 3 inches larger than any vent holes to keep airflow unobstructed. Good ventilation and radiant barrier work together, not against each other.

Don't stress about achieving 100% coverage. Radiant barrier has a cumulative effect, meaning that even partial coverage with AtticFoil® delivers meaningful results. Once the large open sections are done, circle back to fill in any tricky corners or hard-to-reach spots you skipped the first time through if you want. If you want a more detailed install guide, you can find it on our Install Page under the main menus.

Frequently Asked Questions:

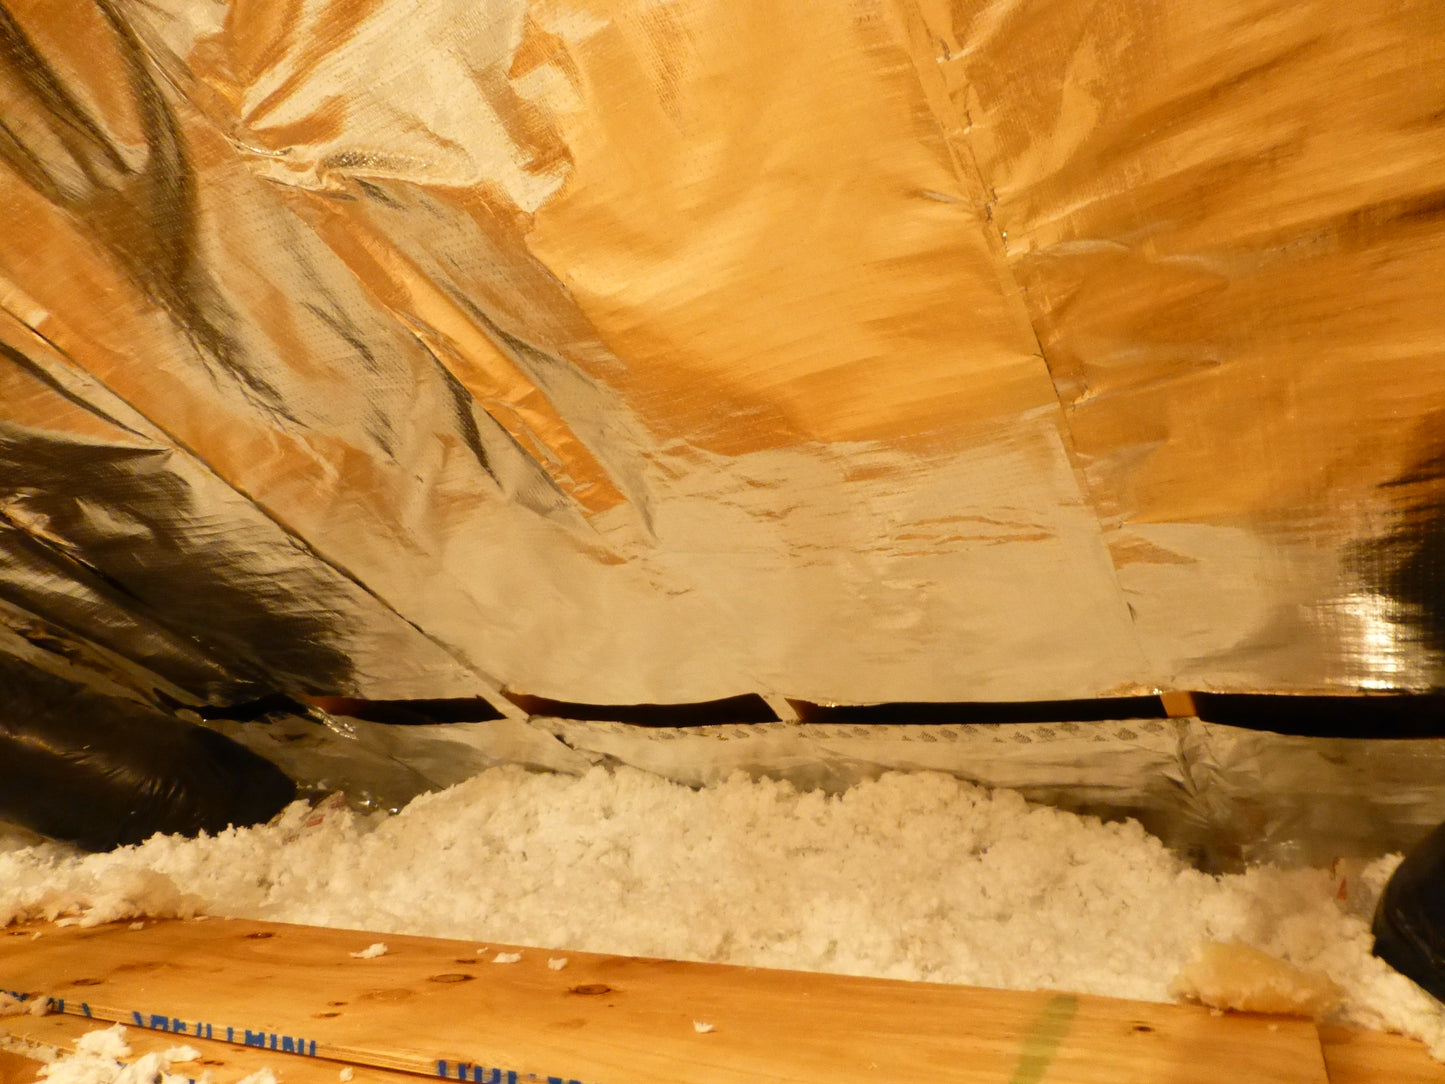
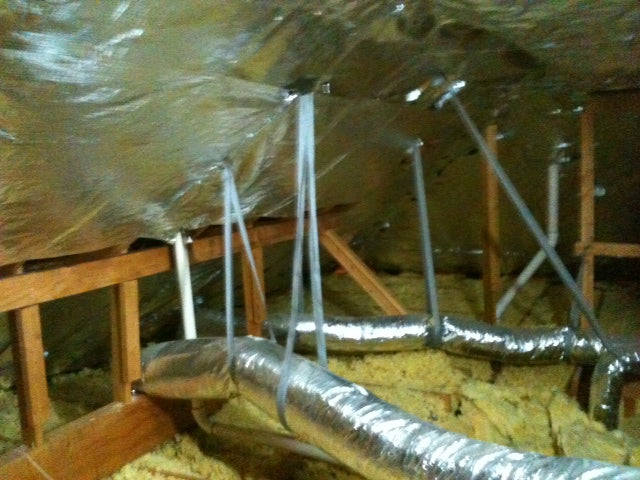
It's the most common DIY approach for hot and warm climates. AtticFoil® is stapled horizontally across the underside of the rafters, starting at the bottom and moving toward the ridge, keeping the radiant barrier between the hot roof deck and the attic space below.
Yes. A 3-6 inch gap at the eaves allows cool air to enter from soffit vents, and a similar gap near the ridge lets hot air escape. These gaps keep air circulating through the attic as if the foil weren't there. Even if you don’t have roof venting, we still recommend you leave these gaps.
No. Taping seams has no impact on performance. The foil is perforated and not designed to create an airtight seal. Tape is optional and only useful for making the installation look tidier or attaching pieces across spans with no rafters.
No, direction has zero effect on how the radiant barrier performs. Horizontal runs are simply recommended because they're faster and easier to manage across a wide attic.
Most homeowners can handle a staple-up radiant barrier installation as a DIY project with basic tools: a staple gun, utility knife, and a helper. The process is straightforward, though a second person makes it significantly easier. We have complete install guides on our website, accessible via the main menu.
With proper ventilation gaps maintained, the effect on shingle temperature is minimal, typically only 2-10°F warmer, which falls well within acceptable limits and won't shorten the life of your roof.
That's perfectly fine. Radiant barrier works cumulatively, so partial coverage still reduces heat gain. Focus on the large open sections first, then fill in smaller or hard-to-reach areas as time allows.
You can either cut the AtticFoil® to fit around them or drape it over the top and connect it to the piece below. For blocking that restricts airflow, let the foil sag slightly below it or cut a small opening to keep air moving upward.
Yes. Two techniques, the skirt method and the slit method, make it easy to add blown insulation later without compromising attic ventilation. The skirt method uses a foil overhang as a backstop; the slit method leaves a small gap between the lowest two runs to allow airflow from the soffits.
No. Radiant barrier doesn't require ridge vents specifically. Hot air will find its way out through whatever exhaust vents you have, ridge vents, wind turbines, gable vents, or powered fans. The key is simply making sure there's a path for air to exit near the top of the attic.

How Radiant Barrier Works

How Radiant Barrier Works

Are you a contractor?

We offer bulk and crate pricing on all products. Questions?

How to Install

Our install guide will help you get started with radiant barrier.

Calculate How Much Foil

You Will Need

We show you how to measure your attic before you buy.