Stapling Radiant Barrier Up in a Truss Style Attic
Truss attics have many supports going from the floor of the attic up to the slope of the roof and they generally are spaced anywhere from 16 -24 inches apart, the whole length of the attic space. These supports can make installing a radiant barrier a challenge because of all the maneuvering that is required to get around the supports to reach the bottom of the roof rafters to staple the foil to. Our 26″ wide AtticFoil radiant barrier was made specifically for these truss style attics that have the rafters spaced 24″ apart on center.
We have received a lot of feedback from customers who have used this method with great success and minimal effort, compared with attempting a traditional staple up method in a truss attic. The main benefits of choosing the Staple Up Method for trusses are that it: makes installation easier with less cuts, provides a cooler attic space, allows for storage on the attic floor, keeps air handlers, duct work, etc. in a cooler environment for better efficiency and it does not interfere with insulation on the attic floor.
Measuring, Cutting & Getting Started
For attics with truss systems, use the 26″ wide radiant barrier that is specifically made for easy vertical installation.
Start by cutting your pieces first. To expedite the install process, we recommend cutting the foil pieces outside the attic space. This works best if you measure the height of the rafter bay and cut several pieces at a time. A utility knife works best for cutting and cardboard makes an easy cutting surface. Depending on the size of the attic, you can cut several pieces at a time; this is an ideal job for a second set of hands if you have them.
Measure the length of each truss bay/cavity and then subtract about 6″ to 12″ to account for the gaps at the top and bottom of each cavity. Once you have the length of the truss bays, count the number of bays/cavities you have, and cut that many pieces out ahead of time. Cutting outside the attic space is easy and helps the installation go faster once you are inside the attic space.
TIP
Have one person attach the AtticFoil™ at the top of the truss cavity, while another person secures them at the bottom.
Start At The Top of the Attic

Most installs start at the bottom and work their way up toward the top of the space. With a vertical installation in a truss attic or a low pitched roof, it works well to start at the top of the cavity and work your way down. Attach the top with a staple on either side of the cavity (attach it to the truss, not the roof deck) and then continue down the face of each truss until you reach the bottom.
If you have a helper, position them down near the eaves and they can work on attaching the bottoms of the foil to the truss faces.
Also, as shown in the video above, they can tackle any long pieces that can’t be reached for stapling by using a pole or stick to push the foil back toward the eaves to get coverage. *Make sure the soffits are clear of obstructions (including the foil) and if necessary, cut your piece of foil a little shorter to avoid covering your intake vents.
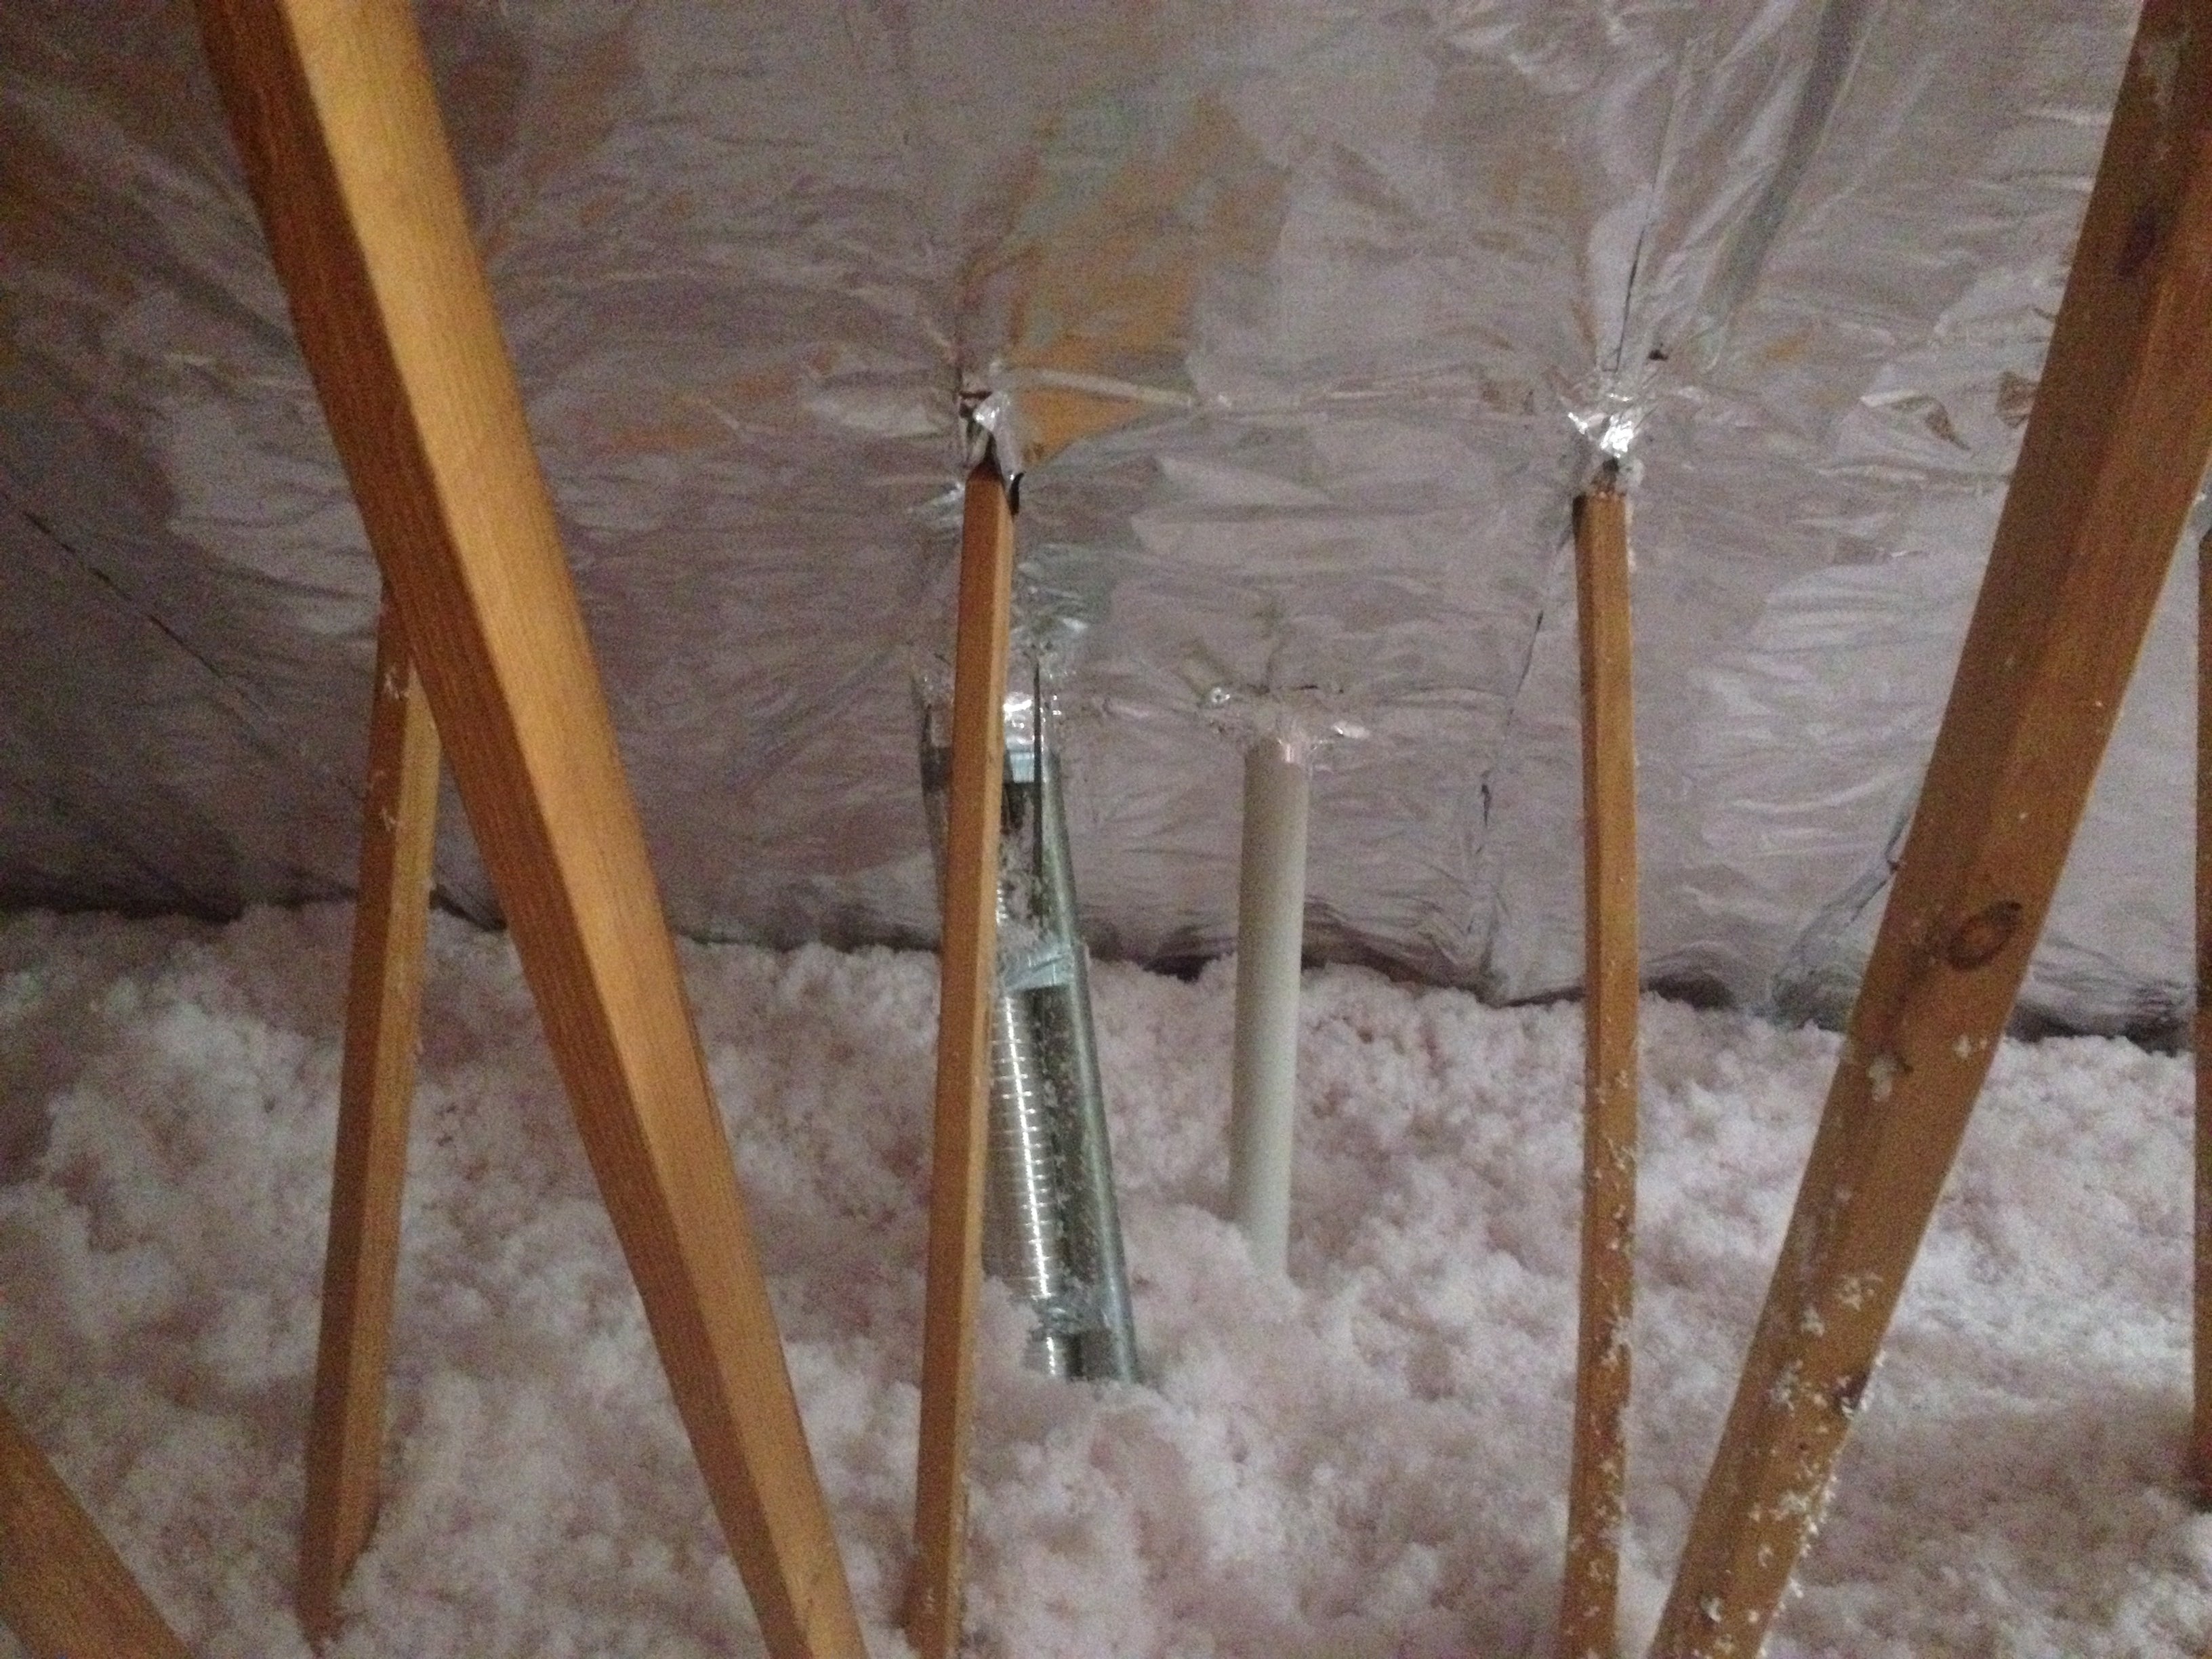
Continue moving down each truss section with a new piece on each cavity. Seams can be overlapped on the face of the studs. If you staple off center, simply pull on the foil to remove it from the truss – it will pull the staple out with it! Then, reposition and staple it back on. Remember, as with any installation: it doesn’t have to look pretty and smooth in order to work; crinkled foil works just as well as smooth foil.
You do not need to tape the seams – it will not have any effect on the performance of the foil. If you do choose to use the foil tape for patching cuts and gaps, use our 2" Foil Tape to do this. Keep in mind the tape is not meant to create an air-tight installation, because that is not the goal. The goal is to allow air to move as it normally would, so the tape is simply an option to make the install look prettier.
INSTALL SUPPLIES
For more information on the size staples, or any extras we recommend, check out: Supplies Needed for Installing AtticFoil™ Radiant Barrier.
Want to Add More Insulation Later?

If you are planning on adding more insulation after you install the foil, you’ll want to prepare for this during your foil installation. There are two main ways to set up the install for adding insulation later: the slit method and the skirt method.
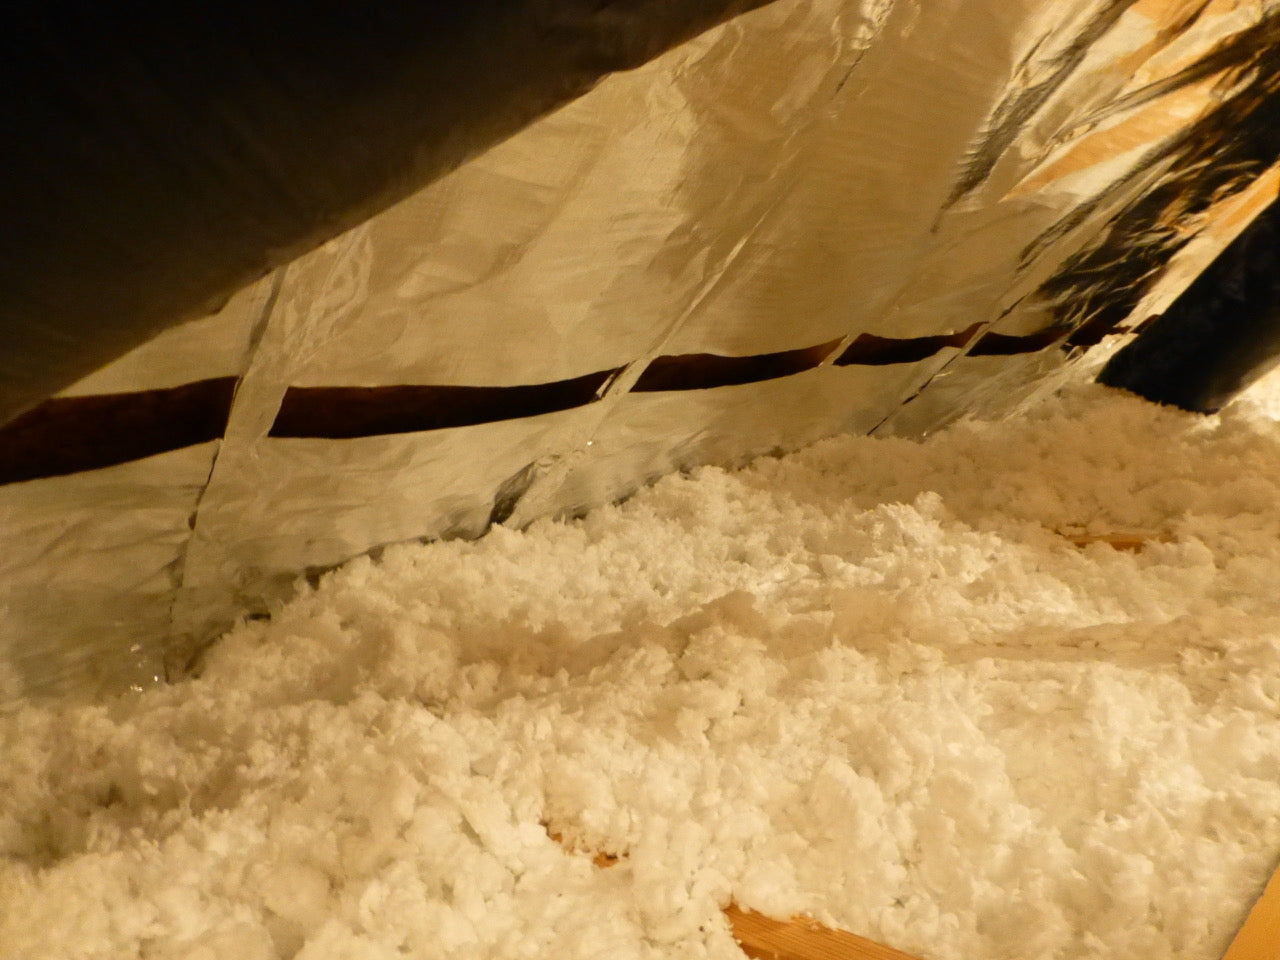
The Slit method starts when the first piece of foil goes all the way down to the eaves – as far as possible. If you are able, you can even run this piece horizontally, just like the typical 48″ wide radiant barrier is installed. If not, just make your 26″ wide piece a few feet long and install vertically on the rafter ends. Doing this is going to prevent insulation from falling into the soffit vents and blocking them.
After this piece is installed, you start the next run a couple inches above this piece, leaving a gap, or slit, in the foil. (See the photo example on the right). The idea is that this method allows air to enter behind the foil from the soffits and into the attic space where it helps promote a dry and cooler attic area.
Install it with the foil resting on top of your current insulation level and then staple the foil on either side of the truss bay all the way up. This method should ONLY be used if you have adequate soffit vents in the area where the skirt method is used. It will act as “back stop” to keep the insulation from blowing into the soffits.
If you already have baffle vents in the attic and are wondering how you can work with them, use the Slit Method and make your slits/cuts so they are right at the top of the baffles (this should end up being about 48″ up the rafter ends from the attic floor). The cuts at the top will allow air that is coming in from the baffles to enter the main attic space while some will stay between the foil and the roof deck. Air movement like this is ideal and it will keep air flow uninterrupted. It’s also possible that the top of the baffles will line up perfectly with the top of your first (horizontal) run of foil – if so, that’s perfect! Just start your second run a few inches above the top of the baffles and you’ll create the gap needed for airflow without going back to cut the foil.
Airflow Throughout the Attic (Ventilation)

One of the most common questions we get about foil installs is concerning leaving gaps in the install to allow for air flow. The main thing you are trying to do is get the foil between the hot roof and the rest of the attic. If you can do this, it WILL work to reflect radiant heat.
During the installation you will still leave gaps at the top and bottom of all the rafters, cuts around fans or other obstacles and you still cover any gable ends that are in the attic, just like you would in the traditional staple up/ open-ridge method for installing radiant barrier foil.
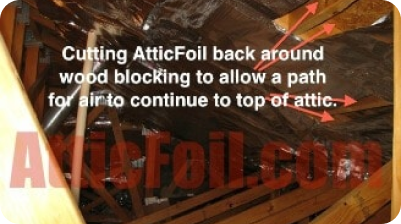
The key is to give the air a free path to flow through the attic from the soffit vents to the top of the attic. Normally the air will flow in from the soffits and most of it will flow between the foil and the roof deck, and some will flow into the attic. That is OK.
TIP
For more information on gaps and airflow see:
How much of a gap should I leave at the tops and the bottoms of the foil to allow for proper ventilation?
Gable Walls and Roof Hips & Valleys
Roof Hips and Valleys should be treated like any other part of the roof. Remember, you want to create a path for air to flow behind the foil and then up and out. On hips and valleys this is done by simply cutting a hole or slit at the top and the bottom of each cavity. Air will naturally be drawn in the bottom and out the top. Ultimately all hot air will end up in the top of the attic and be exhausted by whatever exhaust vents you have.
Remember, you want air (attic ventilation) to continue to flow through the attic as though the radiant barrier foil is not even there. A slot is left along the ridge, on any hips or valleys, and around roof vents to allow air to flow from the soffits to the top of the attic and then vent out the top of the attic. The holes (demonstrated in the photo) are small, about the size of an adult hand.
Gables are the “flat” ends of the attic – Run the foil across the framing. Leave a small space at top and bottom of gable ends. You want air to be able to flow behind the foil. You want outside air to still enter the bottom of the attic and vent out the top exhaust vents. It does not matter if you have ridge vents, wind turbines, gable vents, fans or other vents the hot air will find the top of the attic. You DO NOT have to have ridge vents for radiant barrier to work.
More info: Installing Radiant Barrier on Gable Walls


Finishing Up
Remember, good attic ventilation is important because keeping air moving through an attic not only keeps the air temperature cooler in the attic, but it also helps to remove moisture. For more information about the myth that Radiant Barrier Causes Moisture click here. Once you’ve finished the large open areas, then you can go back and attempt to cover any smaller or hard-to-reach places in the attic that you skipped over. Keep in mind that you don’t have to cover every square inch of the attic for the foil to work, AtticFoil™ has a cumulative effect, meaning partial coverage works too!


